Travel Cot Bassinet Inserts: Sizing & Compatibility 2025
Why sizing and compatibility matter for safe travel sleep
Travel cot bassinet inserts make portable sleep simpler—but getting sizing and compatibility right is essential. When a bassinet insert fits a travel cot correctly, you get a firm, flat surface with no gaps and a stable attachment. Poor fit can create unsafe spaces or wobble that interrupts sleep.
What this guide covers
You’ll learn how to measure both the cot and the insert, compare attachment styles, and evaluate materials and safety. We’ll also look at how to choose an insert for different trips and how to care for it so it lasts.
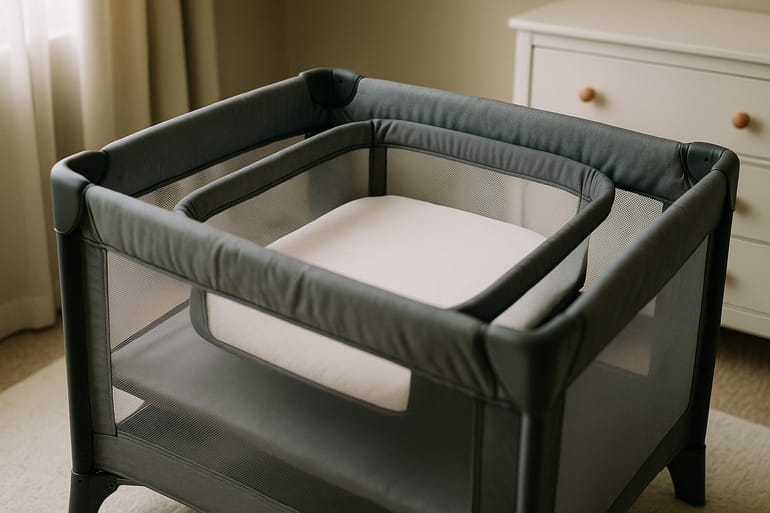
What is a bassinet insert?
A bassinet insert is a raised, removable sleep platform designed for young infants, typically used inside a foldable travel cot. It keeps baby at a comfortable height for easy access while maintaining a flat sleep surface. Some inserts clip to the frame; others zip or strap in place. Because travel cot sizes vary by manufacturer, compatibility is not guaranteed—always verify measurements and installation method.
Quick checklist
- Measure interior length × width and base height
- Confirm weight and age limits
- Match the insert’s attachment system to your cot
- Aim for a snug, gap-free fit
By the end, you’ll know exactly how to select, check, and maintain travel cot bassinet inserts with confidence.
Measure, match, and verify fit: sizing and compatibility
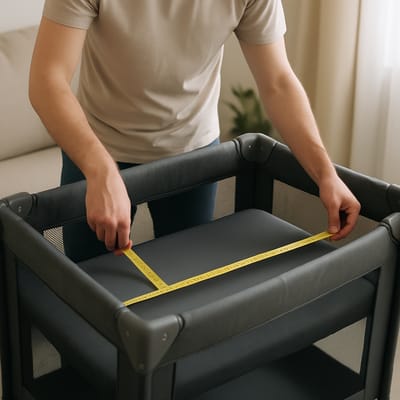
Measure your travel cot
- Record the interior length and width at the mattress level (not the top rails). 2) Measure the depth from the top rail to the cot floor to understand where the insert will sit. 3) Note any frame crossbars, tapered corners, or rounded edges that affect usable space.
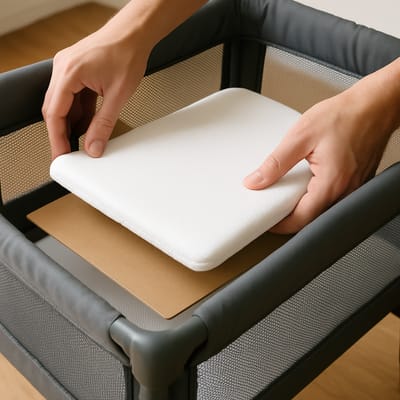
Measure the insert
- Check the insert’s footprint and corner shape
- Review the weight limit and recommended age range
- Confirm the attachment type: clips, zips, straps, or frame sleeves
Compatibility checklist
- The insert’s footprint should match the cot’s interior with no overhang
- Corners should align (square vs. rounded)
- Attachments must fasten securely to the cot’s structure
- When installed, there should be no meaningful side gaps (use a quick two-finger gap test) and no rocking or flex
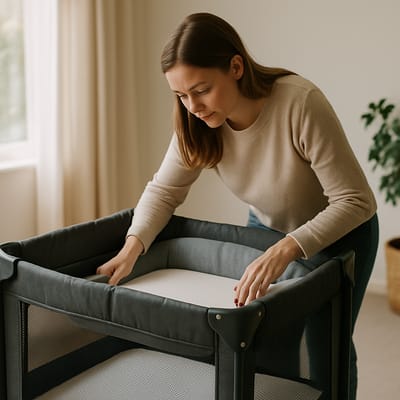
Fit test at home
Assemble the cot fully. Install the insert per instructions, then press around the perimeter to confirm a firm, flat plane. Tug gently on each attachment point. If you see shifting, bowing, or gaps, it’s not a safe match. When in doubt, choose a different insert or a configuration the manufacturer explicitly supports. Always follow local safe sleep guidance for infants.
Materials and safety considerations that really count
Safer construction
Prioritize a firm, flat surface with supportive board or high-density core. Side panels should allow airflow—many designs use breathable mesh. Choose non-toxic textiles where possible (e.g., fabrics tested for harmful substances), and low-odor materials. Seams should be smooth, and hardware should be shielded so nothing rubs or snags.
Standards and guidance
Look for products that state compliance with relevant regional safety requirements (e.g., standards for play yards and bassinets in your market). Avoid any design that creates an incline; infants need a flat surface. Do not add extra mattresses, toppers, or pillows—these can compromise fit and stability.
What to avoid
- Overly soft, cushioned surfaces that let baby sink
- Loose fabric, slack straps, or unprotected clips
- Inserts that don’t attach to the cot’s structure
- Fabric-only hammocks or suspended designs not intended as a firm sleep surface
Practical details
Removable, machine-washable covers simplify hygiene. Fast-drying materials help when traveling. If the insert includes zippers or snaps, they should close fully and lie flat when assembled. Replace any insert that shows tears, bent boards, missing parts, or degraded foam.
Choose for your trip: scenarios, setup, and easy care

Match features to the journey
- Flights: Go lightweight, compact fold, and quick-install attachments
- Road trips: Durable board, stable frame clips, and easy wipe-clean surfaces
- Small spaces/hotels: Slim footprint, good airflow, and quiet materials (no crinkly plastics)
- Grandparents’ house: Simple instructions, color-coded straps, and a storage bag
Setup routine
- Assemble the cot fully. 2) Install the insert per the manual. 3) Run a perimeter gap check and press test. 4) Verify weight/age suitability before each use. Build this quick routine into every setup.
Care and maintenance
- Clean: Wipe the base; wash covers per label; reassemble only when completely dry
- Inspect: Check stitching, boards, and attachments after each trip
- Store: Use a breathable bag; avoid damp areas to prevent odors or mildew
- Retire: Stop using the insert once baby exceeds the weight limit or reaches mobility milestones the maker specifies
Pro tip
Do a full at-home trial the week before you travel. Pack the cot, install the insert, and run the fit checks. This dry run catches compatibility issues early and keeps your trip stress-free.
Debug Information (Development Only)
Debug Information
Article: Travel Cot Bassinet Inserts: Sizing & Compatibility
Decision Metadata
- Decision UUID: 2e7c677a-0098-43f7-934e-4819a46207f1
- Timestamp: 2025-12-08T14:07:31.106111
- Confidence: 0.7369620253164557
- Opportunity Score: 0.0
Content Strategy
- Content Gap: Gap in Mattress Types & Features coverage
- Themes:
- Commercial Level: N/A
Cluster Information
- Cluster IDs: 9b88a6f4ea927cfd44701c1663d8f9a3
- Cluster Names: Infant Sleep Surfaces
Generation
- Model: N/A
- Generated At: N/A